01 — Atlas

The right spot, the right light

Photo of spot Arnarstapi cliffs
Snaefellsnes20:00-21:30

Arnarstapi cliffs

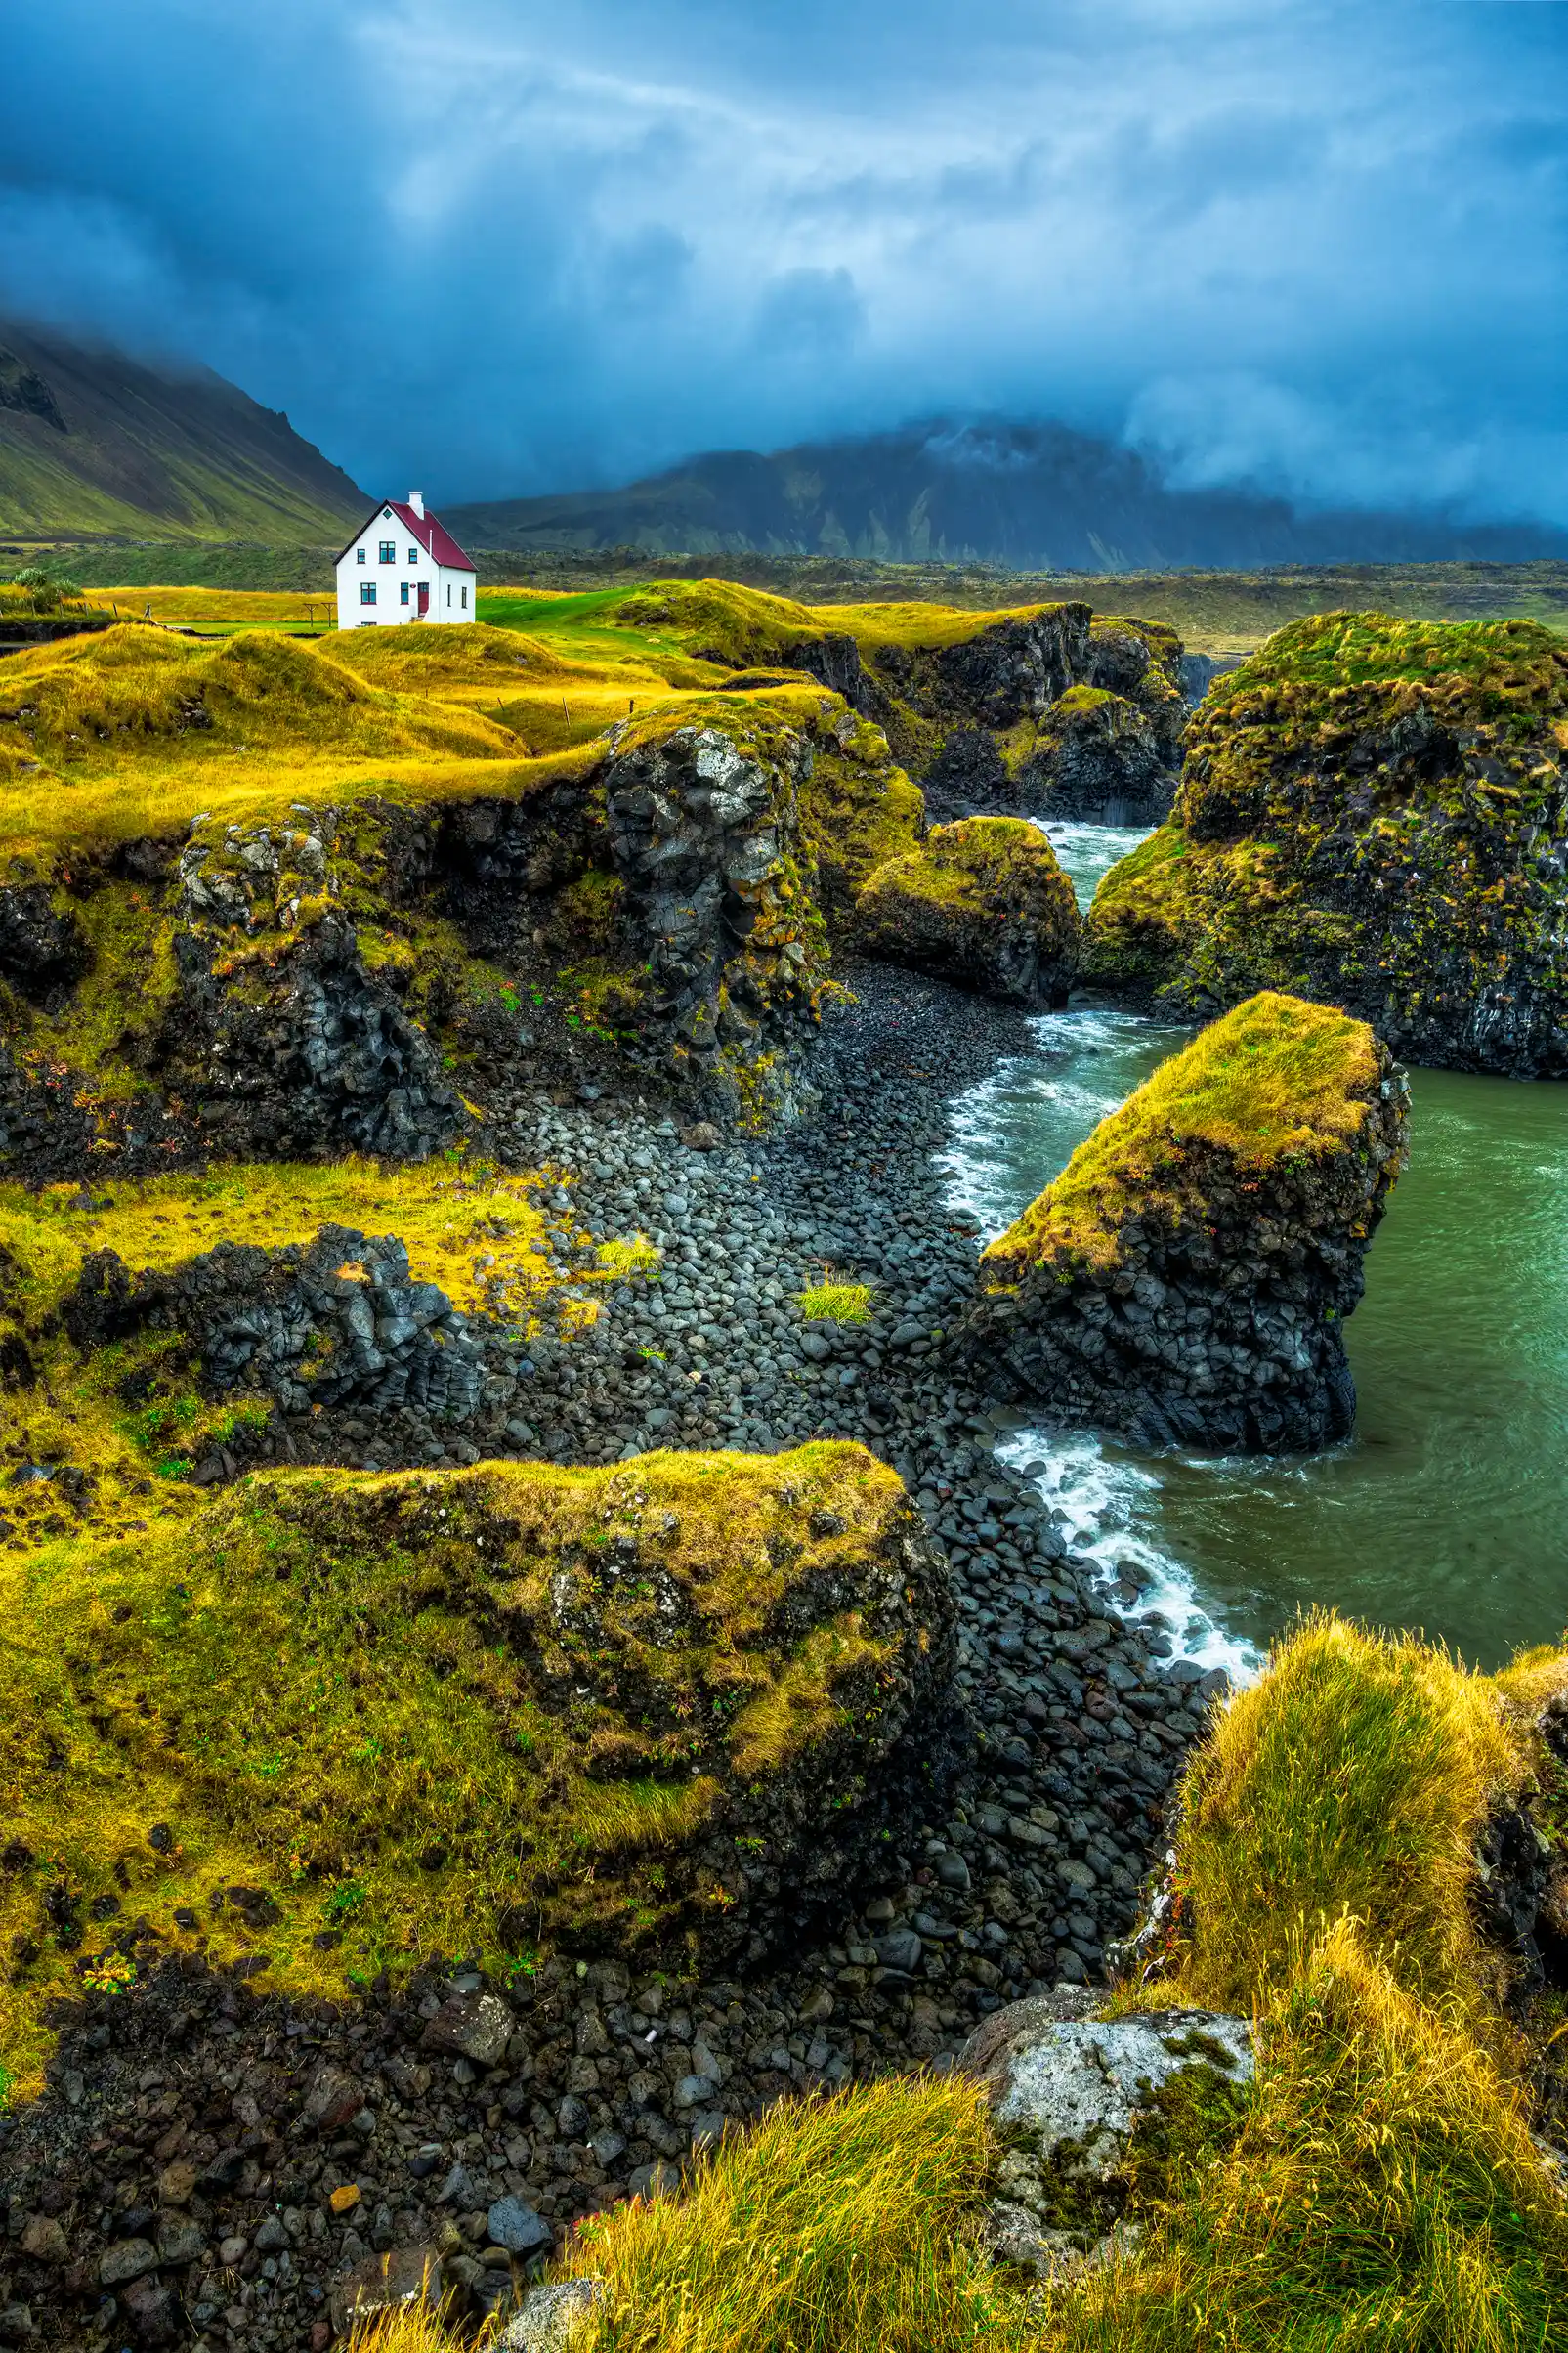
From the permitted coastal path between Arnarstapi and Hellnar, stay above the cliff edge and place one basalt arch or fissure in the lower third with open sea behind it; shoot at 24–35 mm, or 70 mm to compress the rock layers, with low side light off the ocean.

Do not step off the path or past barriers to chase the better angle: wet rock, wind and spray make the edge unreliable. If nests or birds are close to the walkway, keep moving and stay on the trail.

Open spot
Photo of spot Asbyrgi
North-East20:30-22:00

Asbyrgi

From the top of Eyjan, stay on the high trail and shoot north with 24–35 mm: a grass edge or low trunk in the foreground, the Ásbyrgi basin in the middle, and the northern sands beyond. Use low evening side light to separate walls and canopy.

The real hazard is the cliff edge: do not step off the marked track to lower the angle, and avoid working near the rim in strong wind. If the ground is wet or icy, keep to the most stable inner section of the trail.

Open spot
Photo of spot Bruarfoss
South-West09:00-10:30

Bruarfoss

From the permitted bridge area, stay on the deck and build a vertical frame around the main drop: 24–35 mm to include the blue ribbon, the U-shaped runout and the black basalt; 50–70 mm if you want to compress the layered falls. Diffuse light keeps the color clean and the whites under control.

The main hazard is slipping on mud, wet boards and damp edges: stay on the bridge and signed path, do not drop into the riverbed or chase a lower angle near the water. After rain or frost, footing deteriorates fast.

Open spot
Photo of spot Budir church
Snaefellsnes06:30-08:00

Budir church

From the open grass to the east/southeast of the church, keep the black building off-center and let Snæfellsjökull sit above the low horizon; 28-35 mm preserves the church, pale grass, and glacier without flattening the space.

Do not step off the worn path onto fragile lava or beyond the cemetery boundary: the real risk is damaging the site or slipping on ice and wind-blown ground. Stay on the existing route and close every gate behind you.

Open spot
Photo of spot Dettifoss
North-East11:00-13:00

Dettifoss

From the west-side signed viewpoint, stay on the marked line and frame the waterfall curtain, the canyon and one person on safe ground for scale. At 24–35 mm, with high sun and spray in the air, the white water lifts off the basalt without losing the fall's physical mass.

Spray soaks the path and, in frost or snow, footing turns slick: keep well back from the edge and behind barriers/signs, especially where the west side has been reworked or closed after the landslide.

Open spot
Photo of spot Diamond Beach
South-East06:00-08:00

Diamond Beach

From the dry upper beach, crouch with 24–35 mm: one full ice block in the foreground, a band of black sand behind it, and the sea closing the frame. Work low and side-lit; skip high sun, which flattens the contrast.

The real risk is incoming water and a slippery surface: stay on the dry sand, don’t chase blocks into the backwash, and never turn your back on the sea.

Open spot
Photo of spot Dynjandi
Westfjords17:00-18:30

Dynjandi

From the signed south-bank trail, keep climbing until the main fan opens up and let the lower cascades lead into frame as a diagonal foreground. Hold 24–35 mm, leave breathing room for the basalt wall, and work the shot in late-afternoon side light.

The real hazard is spray on wet rock and steps: footing goes slick fast. Stay on the marked path and platforms, keep the tripod collapsed through narrow sections, and do not push for angles beyond the signed margins.

Open spot
Photo of spot Dyrholaey
South Coast21:00-23:00

Dyrholaey

From the upper lookout behind the lighthouse fence, work toward the east-southeast with a 100–200 mm lens: place the dark arch to the left, Reynisfjara through the middle, and Reynisdrangar farther out. Late-day sidelight or blue hour keeps the layers separated without lifting the blacks.

The ridge is fully exposed and wind can be severe. Stay on marked paths and behind the barriers. If the upper area is closed for nesting or ice, do not push past it; check the official status before climbing up.

Open spot
Photo of spot Geysir
Golden Circle05:30-07:00

Geysir

From the signed boardwalk around Strokkur, find a clean background and shoot at 70–120 mm as the blue dome swells: the column reads best when the plume lifts a little off the rim and steam climbs into a cool or clear sky.

Never step off the boardwalk to improve the alignment: the crust is fragile, the water is boiling, and steam hides wet edges. If the path is busy or icy, wait for a gap instead of changing position.

Open spot
Photo of spot Gljufrabui
South Coast11:00-12:30

Gljufrabui

From the gorge entrance, hold back on the driest safe footing and frame vertically at 16–24 mm: wet rock in the foreground, the fall centered, and the skylight above so any beam separates the water column from the dark wall behind.

The real hazards are the slick floor and unstable rock: go in only with grippy boots, keep clear of the walls, and do not stand under drips or any icy sections. Protect the camera before you step into the gorge.

Open spot
Photo of spot Godafoss
North02:30-04:00

Godafoss

From the east bank, use the lower legal path only if the footing is dry and stable: place lava rock in the foreground, the full Goðafoss horseshoe in the middle, and the river curve behind it. Shoot the midsummer sunrise, when light runs into the canyon and cuts through the spray.

The real mistake is chasing spray to the edge or onto wet rock: the lava surface turns slick fast. Stay on marked paths, work a step back, and change angle if your lens starts collecting water.

Open spot
Photo of spot Gullfoss
Golden Circle09:00-11:00

Gullfoss

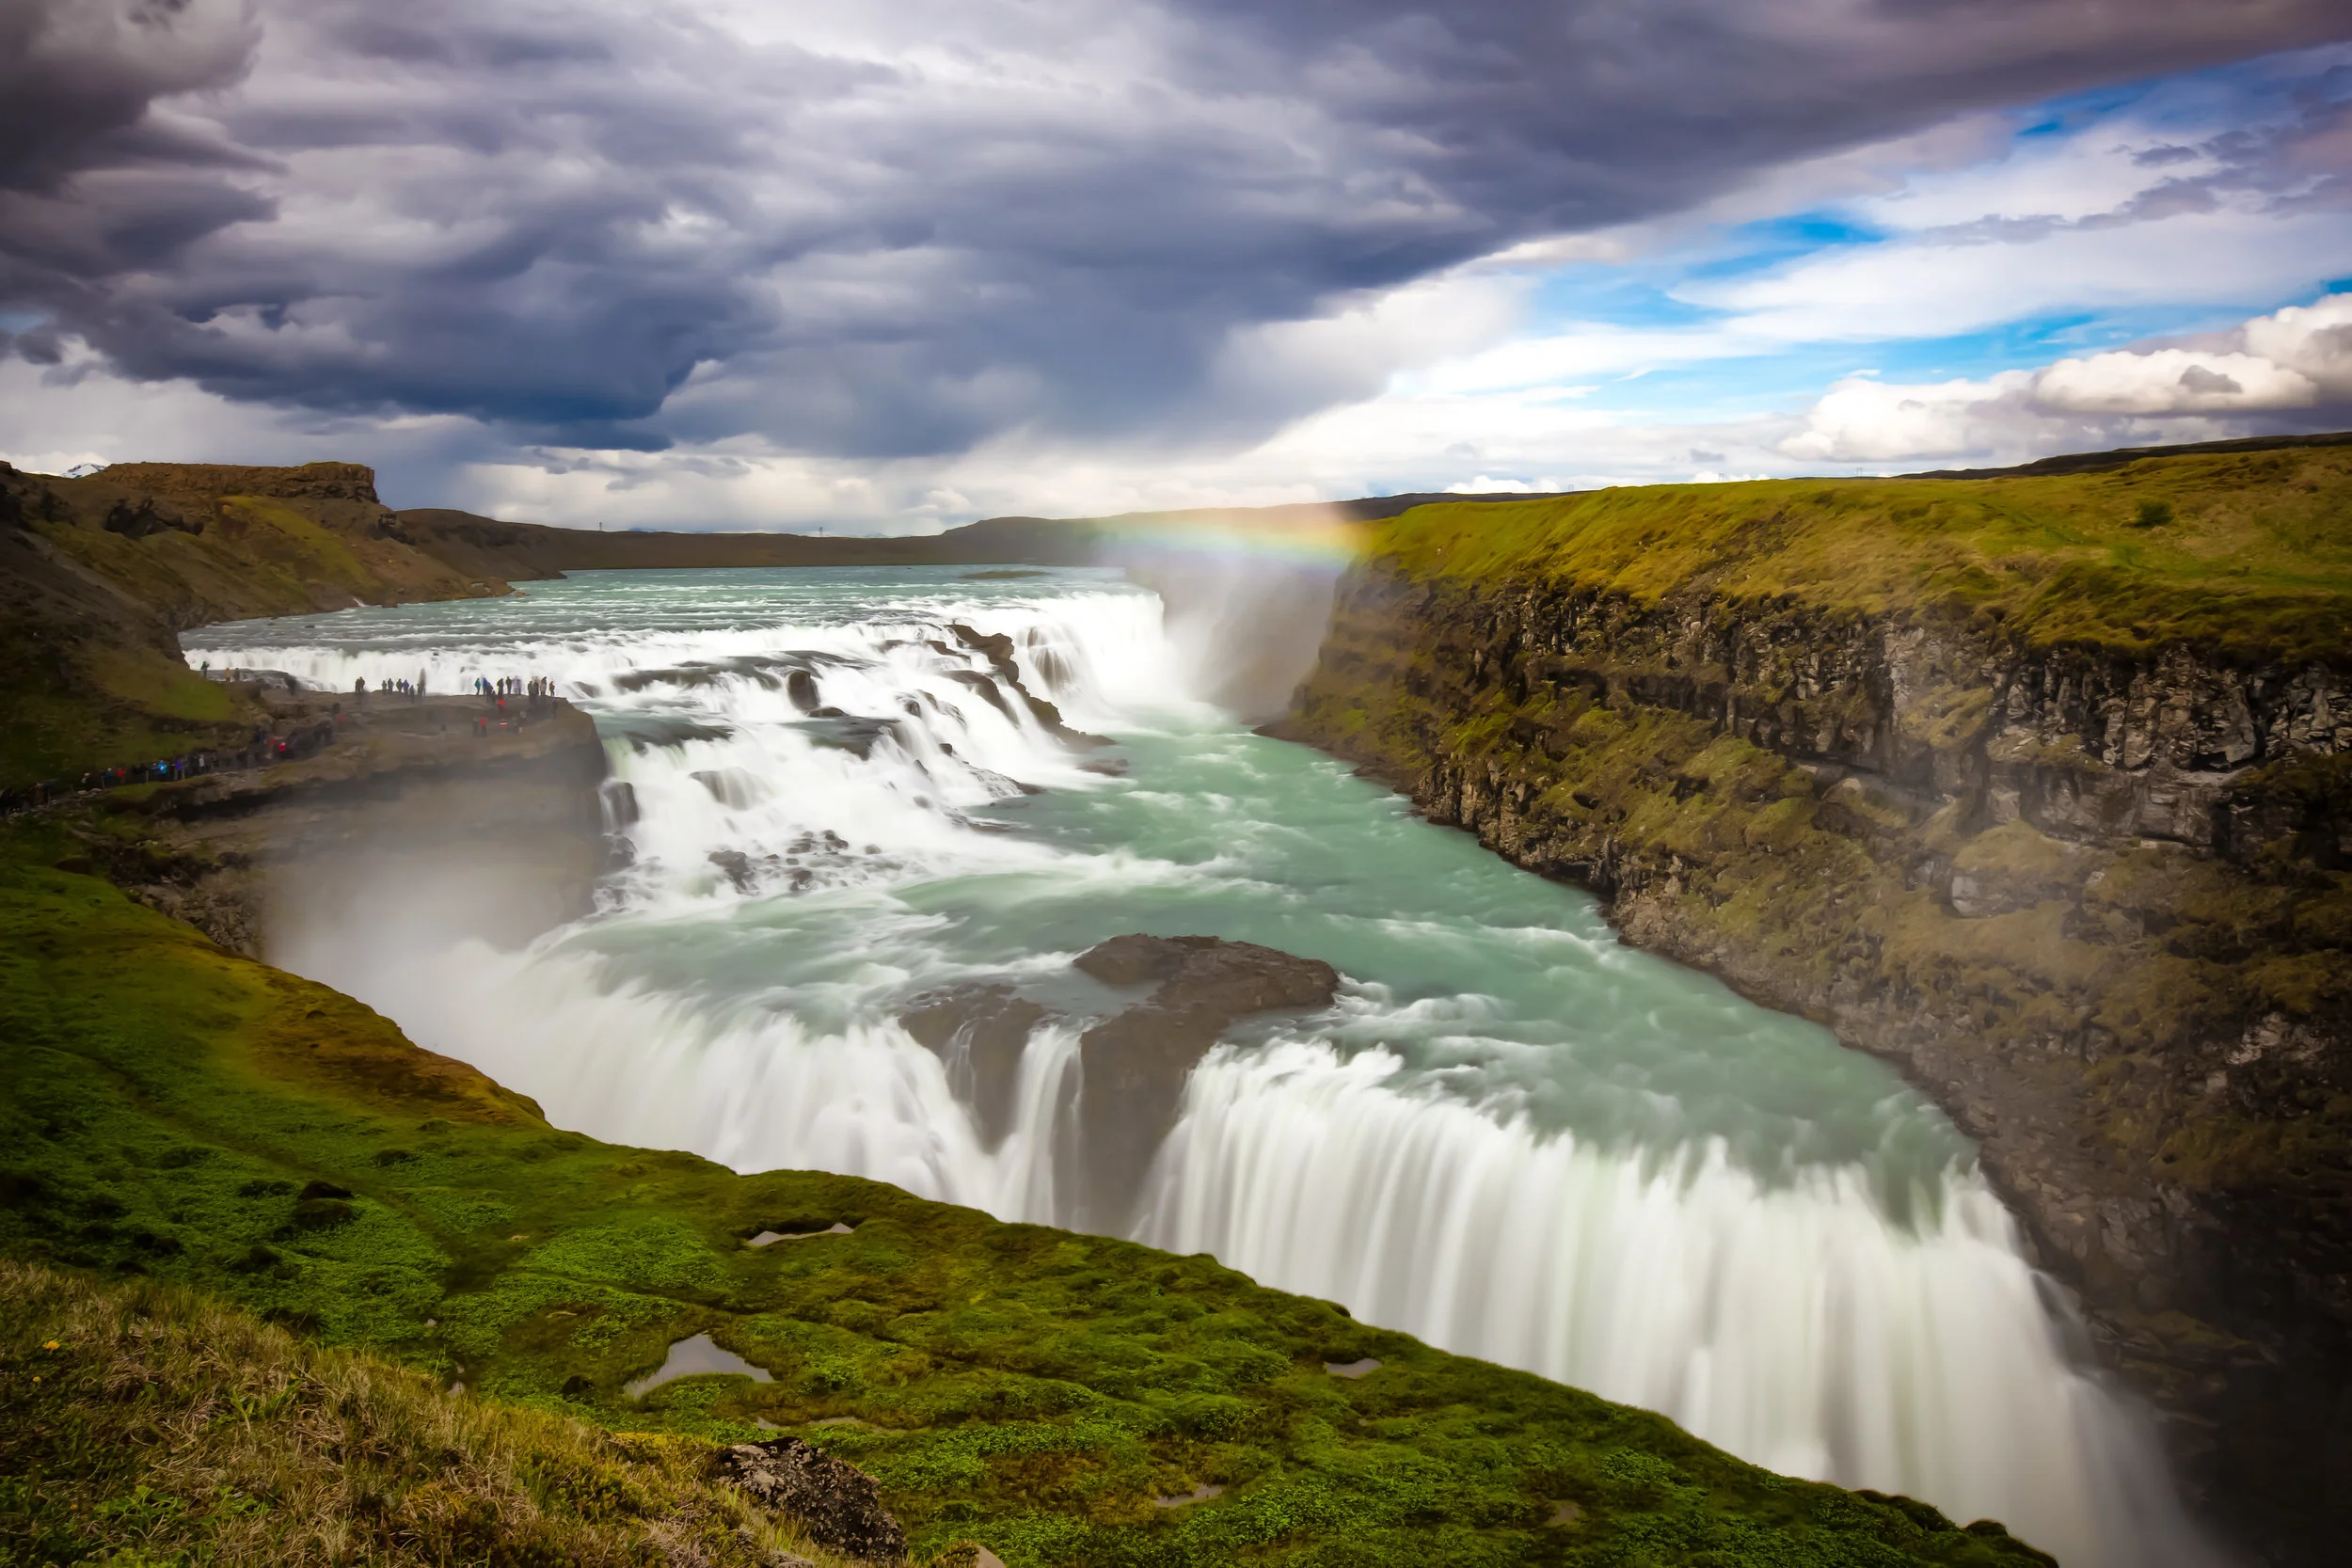
From the upper railings, use a 24-35 mm frame to hold the first drop in the foreground, the second inside the gorge, and the canyon behind it; soft light or a bright overcast morning keeps the spray readable. ([gullfoss.org](https://www.gullfoss.org/parking/))

Stay off wet or icy edges: wind and spray can hit fast, and the steps get slick quickly. If the signed path is damp, crowded, or temporarily closed, work from the permitted platform instead of forcing a lower position. ([ust.is](https://www.ust.is/english/visiting-iceland/protected-areas/south/gullfoss/about-the-area/))

Open spot
Photo of spot Hengifoss
East09:00-11:00

Hengifoss

From the upper signed section of the trail, stay on the permitted side and frame Hengifoss with a medium telephoto (85–135mm), using Litlanesfoss or the canyon floor as scale in the lower third. Work the southeast-facing wall in raking morning light; on overcast days the red bands stay easier to read.

Do not leave the marked path to get closer: the final approach is steep, wet, and can ice up, with slip and small-rockfall risk. Stay on the signed steps and platforms; in winter, check for ice and trail status before you go.

Open spot
Photo of spot Hraunfossar
West20:30-22:00

Hraunfossar

From the car-park side, use a mid telephoto around 50-85 mm and work toward the northwest: keep a band of rivulets in the middle third, the Hvítá as a low base, and a strip of dark lava to separate the water. Look for side light or a flat sky; framing matters more than chasing the whole fall.

In winter the boardwalk and paths can be icy and slick: stay on signed routes, use traction if needed, and do not force low angles near the Hvítá edge.

Open spot
Photo of spot Hverir
North18:00-19:30

Hverir

From the lowest marked path, frame a mud pot or fumarole in the foreground at 24–35 mm and let the yellow-red crusts fill the frame; wait for side light that pulls the steam off the dark background.

Geothermal ground can give way and burn even where it looks firm: stay on marked paths and do not cut corners for a better angle; steam can hide boiling ground and pools.

Open spot
Photo of spot Jokulsarlon
South-East05:30-07:00

Jokulsarlon

From the signed Eystri-Fellsfjara path, use a 70-200mm and keep the waterline low in frame: a single iceberg or small cluster in the foreground, the dark lagoon, then Breiðamerkurjökull behind. Low side light or overcast is ideal to hold the ice color and texture without blowing the sky. ([vatnajokulsthjodgardur.is](https://www.vatnajokulsthjodgardur.is/en/areas/jokulsarlon/b2-fellsfjara?utm_source=openai))

Do not step onto the ice or creep to the edge just to lower your viewpoint: the lagoon is dynamic, ice can roll, and the wet shoreline is more treacherous than it looks. Stay on the path and check park notices if wind or works are affecting access. ([shooticeland.com](https://www.shooticeland.com/jokulsarlon-diamond-beach-photography-guide/))

Open spot
Photo of spot Kirkjufell
Snaefellsnes06:00-08:00

Kirkjufell

From the east-side walkways at Kirkjufellsfoss, keep the falls low in the foreground with Kirkjufell sitting directly behind it; work around 24 to 35 mm. Look for low morning light: it separates the peak cleanly from the sky and gives the water shape.

Stay on the marked paths and behind the barriers: wet rock, spray and side wind can make a tripod unstable and every edge slippery. Do not try lower angles on moss or near the drop.

Open spot
Photo of spot Krafla Víti
North11:30-13:30

Krafla Víti

From the permitted northern rim, make the crater read as an arc: dark tephra foreground, green lake centered, opposite wall and clean sky behind. A 16–24 mm frame and high sun keep the bowl readable without flattening the color. ([commons.wikimedia.org](https://commons.wikimedia.org/wiki/File%3AViti_Crater_of_Krafla_volcano_in_Iceland_-_2009-08-20.jpg))

This is an exposed rim: wind and ice are the real hazards, and the trail also crosses a geothermal section to the east. Stay on the marked path and stop if your footing feels uncertain; the shot is never worth stepping off line. ([visitmyvatn.is](https://www.visitmyvatn.is/en/see-and-do/hiking-routes/the-stora-viti-maar-by-mt-krafla))

Open spot
Photo of spot Kvernufoss
South Coast11:30-13:00

Kvernufoss

Step into the recess behind the curtain and keep the fall filling the frame, with a small figure or mossy ledge in the opposite third for scale. A 16–24 mm view holds the dark rock, spray and opening together; soft light is the cleanest way to separate water from basalt.

The main risk is the wet, tight passage behind the fall: the floor gets slick fast and space is limited. Move one at a time, keep your kit compact, and do not force a tripod or step onto any closed or exposed edge.

Open spot
Photo of spot Látrabjarg
Westfjords22:00-23:30

Látrabjarg

From the allowed path near Bjargtangi, get down to eye level and use 135-200 mm, keeping the vertical drop readable behind the puffin. Work in low late-day light so the orange bill, white face and turf rim separate cleanly.

The grassy rim is fragile and the drop is real: stay behind the barriers, don't hunt for a lower angle on the lip, and don't follow birds to the edge. In strong wind, footing goes unstable fast.

Open spot
Photo of spot Myvatn pseudocraters
North21:00-23:00

Myvatn pseudocraters

From the signed trail on the south side of Stakhólstjörn, isolate one pseudocrater in the foreground and let the lake water close the background; with 70-100 mm you compress the forms and catch the warm rim light on the crater edge near sunset.

Stay on the marked path: the wetland surface is fragile and the cones are damaged quickly if stepped on. Wind and midges dirty the front element fast, so keep a cloth handy and do not cut across the soft margins.

Open spot
Photo of spot Raudisandur
Westfjords21:00-23:00

Raudisandur

Work from the permitted beach level and keep the foreground low: the curving sand bands should lead the frame into the sea and the dark hills beyond. A 24-35 mm view fits it best; wait for west side light in the late evening or at sunset. ([westfjords.is](https://www.westfjords.is/en/place/raudasandur))

The gravel descent is narrow, and the return gets harder in wind, rain, or ice—do not push into darkness if the road or surface changes. Park only where allowed, and stay clear of unstable edges and the waterline when tide or surf is moving. ([vegagerdin.is](https://www.vegagerdin.is/en/home/exploring-iceland/safe-driving-on-the-icelandic-road-system))

Open spot
Photo of spot Reynisfjara
South Coast07:00-09:00

Reynisfjara

From the safe upper ridge, face south and let the basalt wall sit on one side of frame, with a band of black sand and white foam leading out to Reynisdrangar. A 24–35 mm range keeps the scale, distance and threat intact.

The main danger is a sneaker wave: stay off the shoreline and never turn your back to the sea. If the signs or conditions change, remain on the upper ridge; the ground can be slick and the wind can be strong.

Open spot
Photo of spot Seljalandsfoss
South Coast21:30-23:00

Seljalandsfoss

From the permitted path behind the falls, keep the camera low and slightly off-center in the opening: 16-24 mm, water veil as a frame, lowlands and river line beyond the curtain. In low W/NW light, backlight cleanly separates subject, spray, and background.

The rear path is often soaked and usually closes in winter because of ice and falling icicles: do not force it, stay on the allowed trail, and keep the kit protected from constant spray.

Open spot
Photo of spot Seydisfjordur rainbow street
East07:30-09:00

Seydisfjordur rainbow street

Set up on the lower edge of Norðurgata, clear of the lane, and shoot straight up the street axis toward the Blue Church with 28-35 mm; let the rainbow pavement carry the foreground and keep the facades and sky tight to the frame under raking morning light or flat cloud.

This is a real, narrow street: do not stand in the traffic lane, block access, or trust the surface when it is wet or icy. If cars, pedestrians, or temporary closures are present, wait and work only from a safe edge.

Open spot
Photo of spot Skogafoss
South Coast11:30-13:00

Skogafoss

From the lower viewing area south of the falls, stay on the allowed path and aim north with a 24–35 mm frame: keep the full curtain, the spray plume, and a strip of foreground rock or grass for scale. With the sun high behind you, the rainbow can fall into the frame; if the sky closes in, take the east-side stairs for a tighter river-and-falls composition.

Spray wets glass and rock fast: do not drop onto the closed slopes or cross the fences. Take short, careful steps, wipe the front element often, and use real grip when the ground turns slick.

Open spot
Photo of spot Studlagil
East08:30-10:00

Studlagil

From the high Grund viewpoint, stay on the platform and frame one wall as the foreground lead while the opposite wall closes the scene; 24–35 mm keeps the Jökla in the lower frame and catches morning light sliding into the gorge.

Stay behind the railings: the rim is windy and the steps/rock can be slick. Do not go down to the river from the west side or enter the water; the current is strong and the water is cold.

Open spot
Photo of spot Sun Voyager
Reykjavik22:45-00:00

Sun Voyager

From the public promenade on the Sæbraut side, keep the sculpture low in the foreground and Mt Esja just above the sea line; work around 24–28 mm. At sunset and into blue hour, the steel picks up warm edges while Faxaflói stays a clean dark band.

The main hazard here is wet or icy granite and traffic on Sæbraut: stay on the walkway and do not step onto rocks or beyond the edge just to drop the angle. In winter, check for ice and wind before setting the tripod.

Open spot
Photo of spot Thingvellir
Golden Circle07:00-08:30

Thingvellir

From the Hakið viewing platform, stay on the approved spot and frame Almannagjá looking north with a 24–35 mm lens. Place one small person on the path for scale, and let the rift walls and descending line of the trail hold the composition open and readable.

Do not step off the marked route to lower the camera: ice, wet rock and maintenance closures are the real hazards here. If the path is slick or signed closed, shoot from the platform and check the park status before you leave.

Open spot
Photo of spot Vestrahorn
East05:30-07:30

Vestrahorn

Set up low on the safe edge of the beach and let the wet sand act as a foreground mirror; run the dune line on a diagonal and keep Vestrahorn slightly off-center. A 24–35 mm frame works best when low morning light skims the ridges and picks out the mountain texture.

Wind and spray build fast; do not walk down toward the water or ignore closures and warning signs. Wipe the front element immediately and swap lenses only in shelter, because black sand can get into the gear in seconds.

Open spot